

Single Sign-On (SSO) Guide
Single Sign-On (SSO) allows users to authenticate with multiple applications or services using a single set of login credentials. To configure SSO in Webfuse, you will need to follow these steps:
-
Download the identity provider metadata from the IdP (Identity Provider) you will be using for authentication. The metadata contains information about the IdP, such as the SSO URL, Entity ID, and certificate.
-
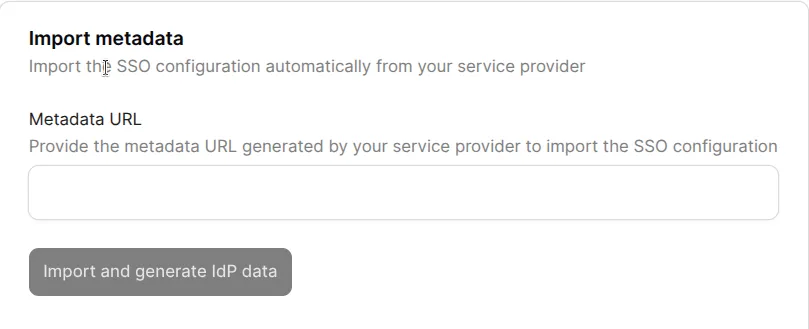
Log in to the Webfuse Studio and open SSO settings page . Here, you can provide the IdP metadata URL to import the IdP metadata for SSO.
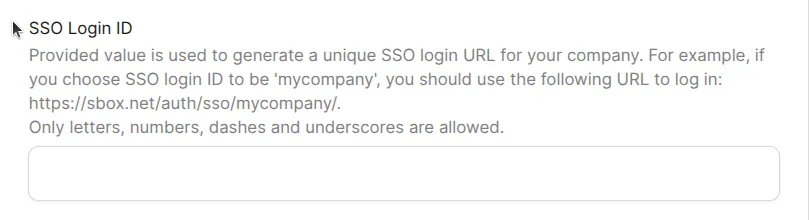
- For SSO login ID, provide a unique name that will be used to generate the SSO login URL. This will typically be the name of your organization or application.
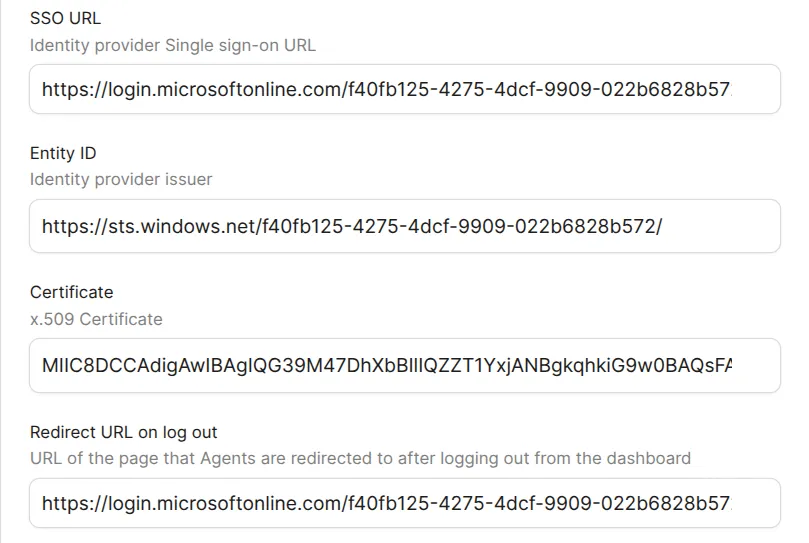
- The fields for
SSO URL,Entity ID,CertificateandRedirect URL on log outwill be retrieved from the IdP metadata you imported in step 2. These fields are important because they allow Webfuse to communicate with the IdP and verify user credentials.
Save and generate IdP data.
- Once you have completed this configuration, you will be able to retrieve
Service Provider Entity ID,Assertion Consumer Service URL. Enter them as Identifier (Entity ID) and the Assertion Consumer Service POST Binding URL in the IDP configuration.
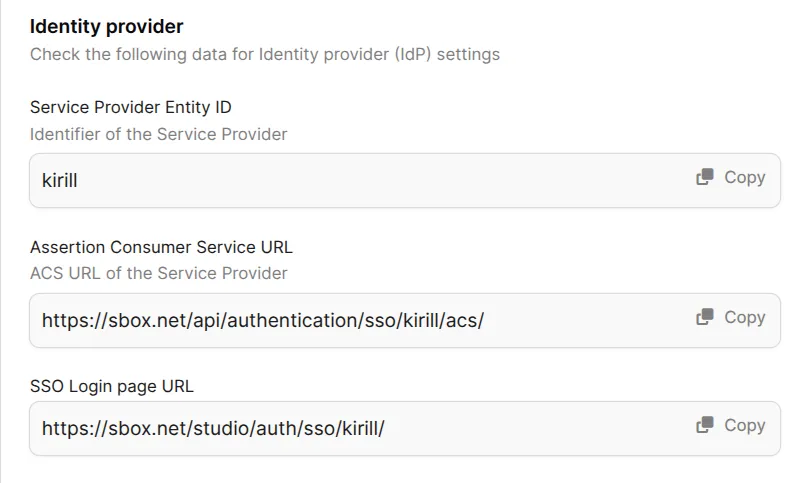
Also you can copy the SSO login URL from the Webfuse Studio and paste it in the IdP configuration.
By following these steps, you can configure SSO in Webfuse and allow your users to log in with a single set of credentials.